New tut with Go Ask Alice can be found HERE.
Pages
Saturday, April 27, 2013
Friday, April 26, 2013
Wednesday, April 24, 2013
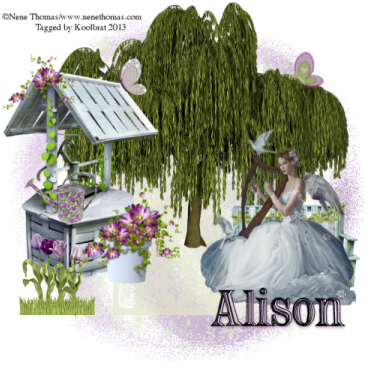
New Tutorial using "Always" by HungryHill
Forever
I used the wonderful artwork of Nene Thomas.
I used this artwork with her permission
You can purchase his work here: Nene
Scrapkit "Always" by HungryHill.
You can purchase it here: Mystical Scraps
Mask and Font of choice
1. Open new image 500 X 500
2. Floodfill with paper2. Load mask of your choice and merge group
3. Add new layer and floodfill with paper4. Load mask of your choice and merge group
4. Copy and paste willow and resize to your liking... Place in the middle of your image
5. Copy and paste well and resize to your liking. Place on the left hand side of your image
6. Copy and paste watering can. Resize to your liking and place so that it looks like it is sitting on the edge of your well
7. Copy and paste flower vine. Resize to your liking and place at the top of your well where the two parts of the roof
come together
8. Copy and paste flutterby1. Resize to your liking and place on the right hand side of your well so that it looks like it is sitting on the roof
9. Copy and paste flowerpot. Resize to your liking and place on the right hand side of your well so that it looks like it is
sitting right in front of it
10. Copy and paste flutterby3. Resize to your liking and place so that it looks like it is sitting on one of the branches of the willow tree
11. Copy and paste grass. Resize to your liking and place in front of your well
12. Copy and paste tulip4. Resize and place in the gras to your liking
13. Repeat step 12 just change to tulip3
14. Repeat step 12 with tulip2
15. Repeat step 12 with tulip1
16. Copy and paste bench. Resize it to your liking and place on the right hand side of your image
17. Copy and paste leafborder. Resize to your liking and place so that it looks like it is covering the back of your bench.
18. Duplicate your leafborder. Go Image mirror and place on the other side of your bench.
19. Place your tube
20. Add your copyright info and text
21. Merge visible and save
That's it..... I hope you have enjoyed my tutorial. If you have any questions please
feel free to leave a message in the Chatbox.
This tutorial was written June 2013 by me(Koolbrat) any similarities to another is just a coincidence.
New Tutorial using "Always" by HungryHill
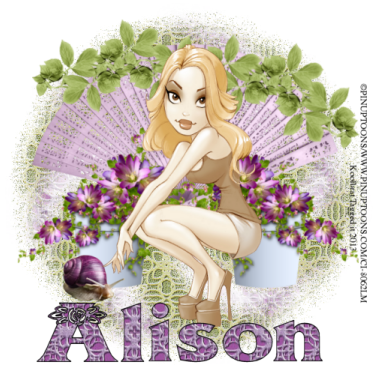
Always Cute
I used the wonderful artwork of Pinup Toons
You can purchase his work here:CDO
Scrapkit "Always" by HungryHill
You can purchase it at anyone of these four stores: DSI, Mystical Scraps,
Treasured Scraps, DigiFox
Mask and Font of choice
1. Open new image 500 X 500
2. Floodfill with paper8. Load saved mask and merge group
3. Add new layer and floodfill with paper12. Load saved mask and merge group
4. Copy and paste fan. Resize to your liking and place in the middle of your image
5. Copy and paste flowerpot. Resize to your liking and place on the left hand side of your fan.
6. Duplicate your flowerpot layer and Mirror it.
7. Copy and paste snail. Resize to your liking and place in front of your flowerpot on the left hand side
8. Copy and paste leaf border. Resize to your liking and place on the top of your fan layer.
9. Copy and paste your tube. Resize to your liking and place in the middle of your flowerpots.
10. Add your copyright and Text
11. Merge visible and Save
That's it..... I hope you have enjoyed my tutorial. If you have any questions please
feel free to leave a message in the Chatbox.
This tutorial was written April 2013 by me(Koolbrat) any similarities to another is just a coincidence.
New Tutorial using "Splish Splash" by HungryHill
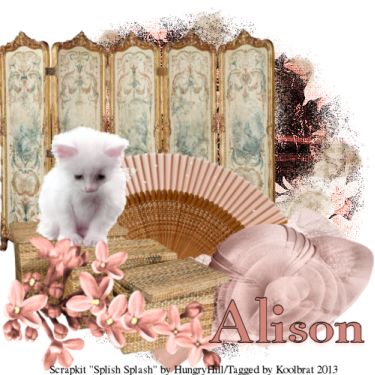
Cutie Kitty
Scrapkit "Splish Splash" by HungryHill
Thank you Sarah for the wonderful kit.
You can purchase it at any of the four amazing stores: DSI, Mystical Scraps,
Treasured Scraps, DigiFox
Mask and Font of choice
1. Open new image 500 X 500
2. Floodfill with paper5. Load mask of choice and merge group.
3. Add new layer and floodfill with paper12. Load mask of choice and merge group
4. Copy and paste screen. Resize to your liking and place in the middle of your image
5. Copy and paste fan. Resize to your liking and place at the bottom of your image.
6. Copy and paste hat. Resize to your liking and place on the right side of your fan layer
7. Copy and paste basket. Resize to your liking and place on the left hand side of your image
8. Copy and paste kitten. Resize to your liking and place so that it looks like the kitten is sitting on the baskets
9. Copy and paste flower1. Resize to your liking and place in front of the baskets.
10.Add your copyright and Text
11. Merge Visible and Save.
You will notice that I didn't use a tube in this tag. Alison has provided lots of really cool elements in this kit. You are welcome
to add a tube if you like. Make sure that you do not forget your copyright.
Even though you don't use a tube it is always a good thing to give credit to the designer of the kit that you use.
That's it..... I hope you have enjoyed my tutorial. If you have any questions please
feel free to leave a message in the Chatbox.
This tutorial was written April 2013 by me(Koolbrat) any similarities to another is just a coincidence.
Subscribe to:
Comments (Atom)


